My Foucault-Ronchi-Lyot tester
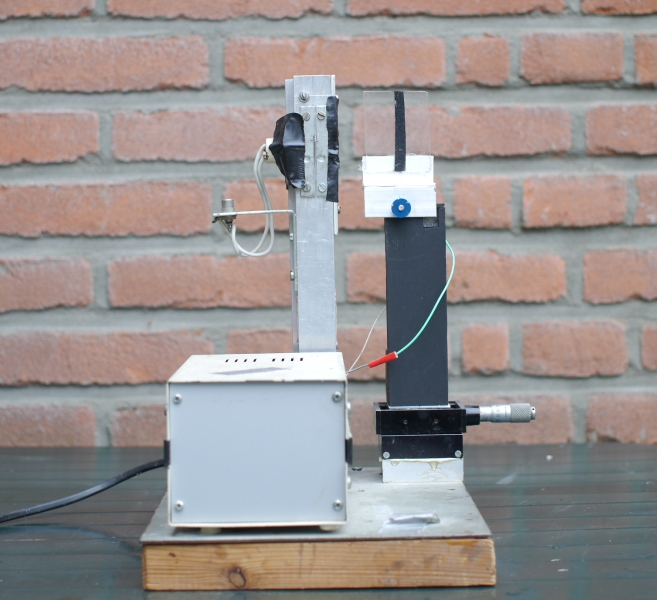
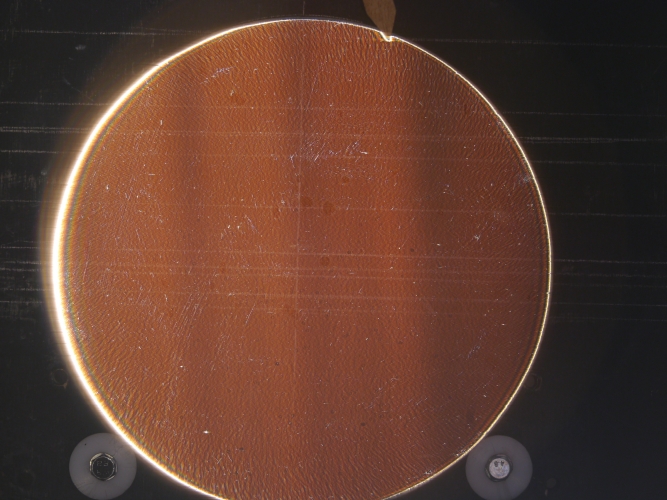
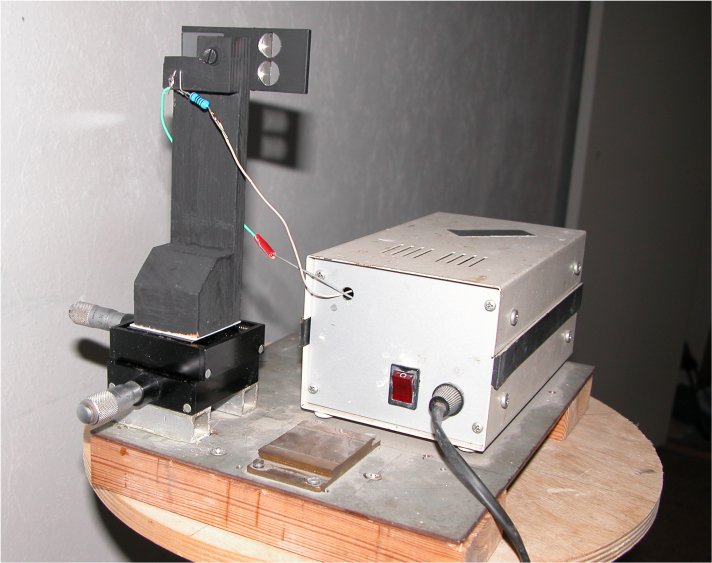
Front sideThis is my Foucault-Ronchi-Lyot tester, a three-in-one. After loosening the blue knob a little I can rotate the knife-edge/ronchi screen panel 180 degrees to switch between the two tests. And for Lyot I exchange the ronchi screen and knife edge module for a sooth knife and place a illuminated slit next to that. The rectangular box is the 6 Volt DC power supply. I could have used some 1.5 V batteries as well, but I had this box, so why not use it. The light source for the Foucault-Ronchi slittless 'moving source' tester is a 4400 mcd warm-white led, connected to the power supply with a 150 ohm resitor in the plus lead.The source for the 'fixed source' Lyot tester is a 12V DC 35 Watt (595 lumen) Halogen lamp. A led turned out not to be bright enough. The first two images show the Foucault-Ronchi setup, the three last images the Lyot tester setup and a picture taken through the Lyot tester. The knife cuts into the returning light beam from the right in the Foucault and Lyot tester.
Back sideThe picture below shows the back side of the Foucault-Ronchi tester,with the X-Y stage. Also shown are the leads from the power supply to the led and the 150 ohm resitor in the plus lead.
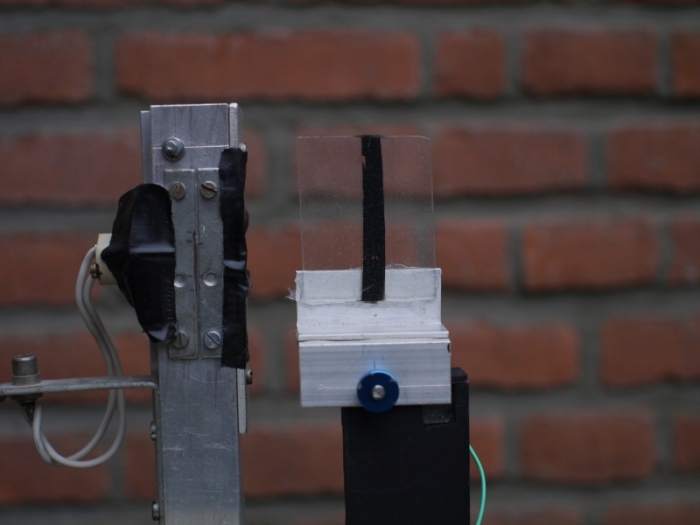
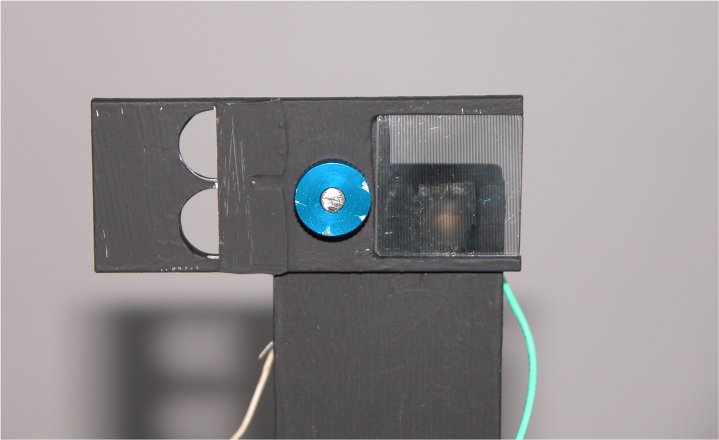
Close-upBelow is a close-up of the (aluminium) panel holding the knife edge and the Ronchi screen, and the blue knob to hold the panel in position. The diameter of the two holes of the Foucault tester is 10 mm and the distance between the centers of the upper and lower hole is 12 millimeters. It takes only a couple of seconds to switch between the two tests. The warm-white led can also be seen, behind the Ronchi screen. The led fits in a 15 mm deep, 8 mm diameter hole in the wooden stand behind the ronchi screen. Two 1 mm diameter holes are drilled into the back side of the tester for the leads of the led. The light is diffused a little, with a piece of 2 mm thickness glass, ground (one side) for half a minute or so with carborundum 320 grit. |

Lyot tester
|